I’ve been using Photoshop since the beginning of my career, not only does it help me with doing some basic graphic designs, but also helps me to be creative. Every now and then I do stylised themed portraits, in which composites are needed.
Lately I’ve been addicted to using the brush tool. At first I thought it can only be used for minimal editing, like erasing unwanted elements in the frame. But I’ve found out how this wonderful tool can be so useful on adding effects and magic on my images.
Today I will teach you how to creatively use the Brush tool to make composite images. You don’t have to be an advanced user to have these effects. Just basic knowledge will do.
[showad block=2]
I have added the links below so you can do it on your own.
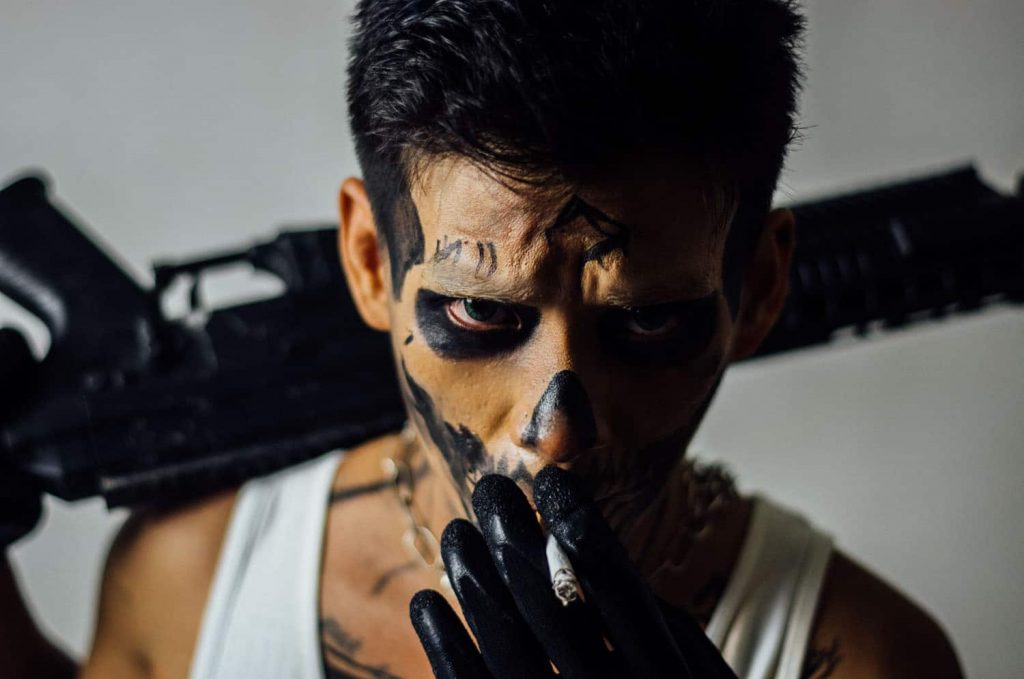
- Download all the image files, and save them somewhere easy to access
- Load the image into Photoshop
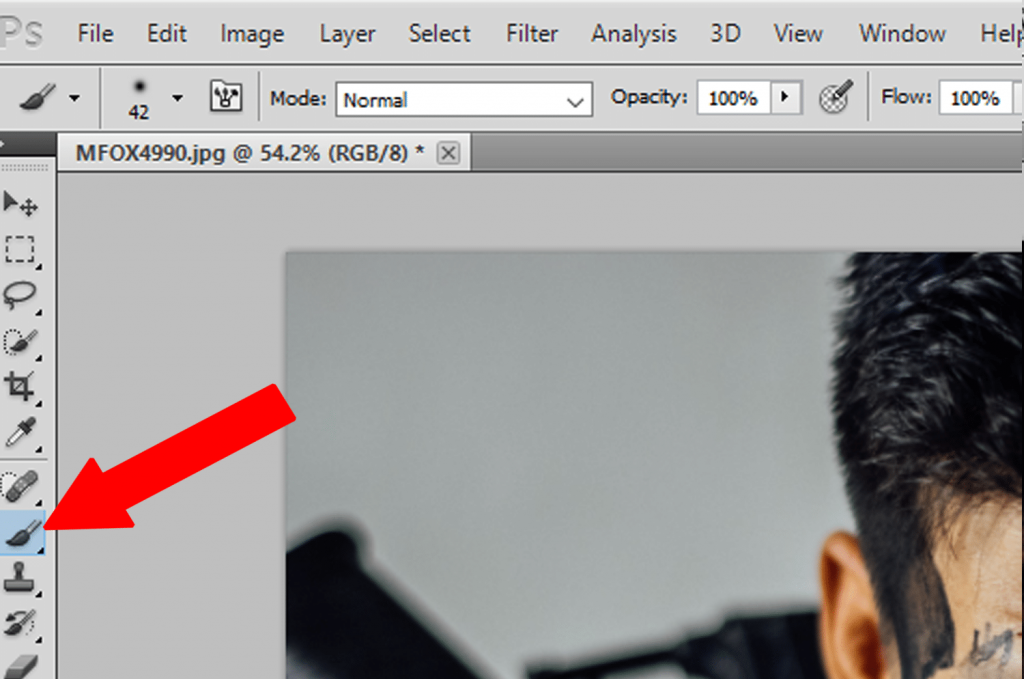
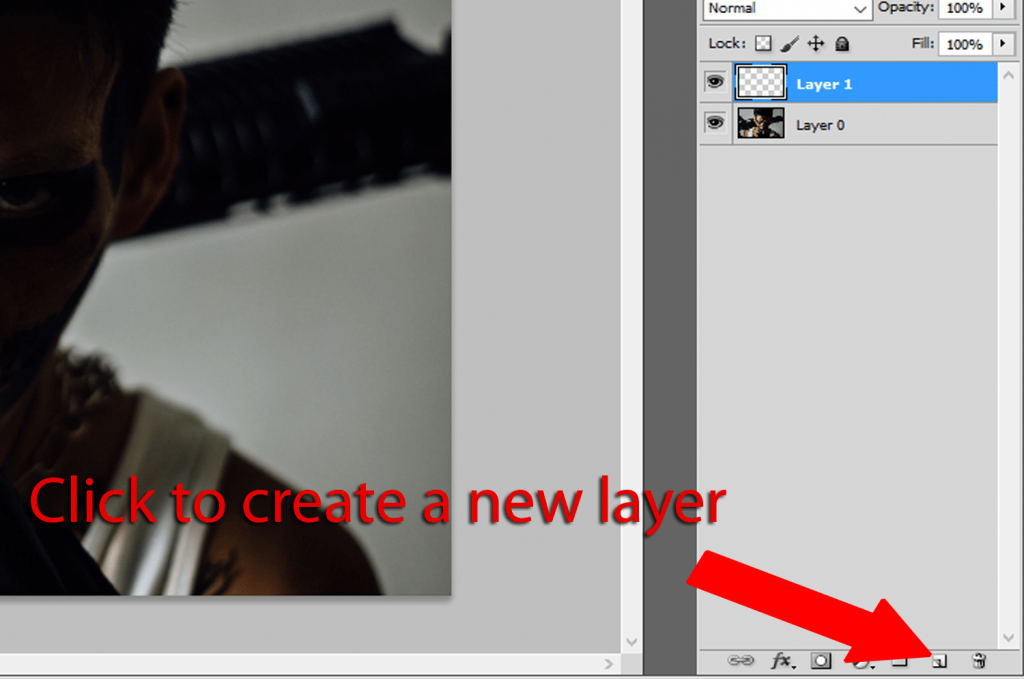
3) Click on the brush tool shown below, then go to the window panel
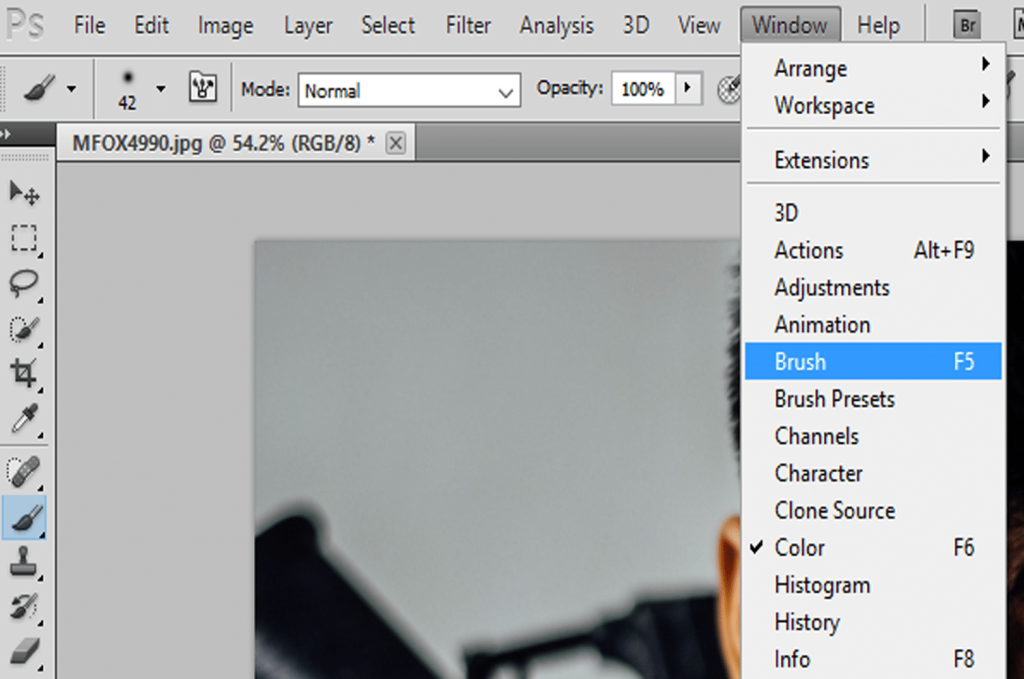
4) Once the brushes panel appears, click on the small “dropdown” icon and choose “ load brushes”. Locate both “explosion brushes “ and “smoke brushes” that you download earlier, and this is why it’s really important to remember where you saved these files!

[showad block=2]
- Create a new layer. This will help separate and change the brushes individually, Layers will make the brush to be a separate image, that you can play around (move, erase, resize,re-colour )
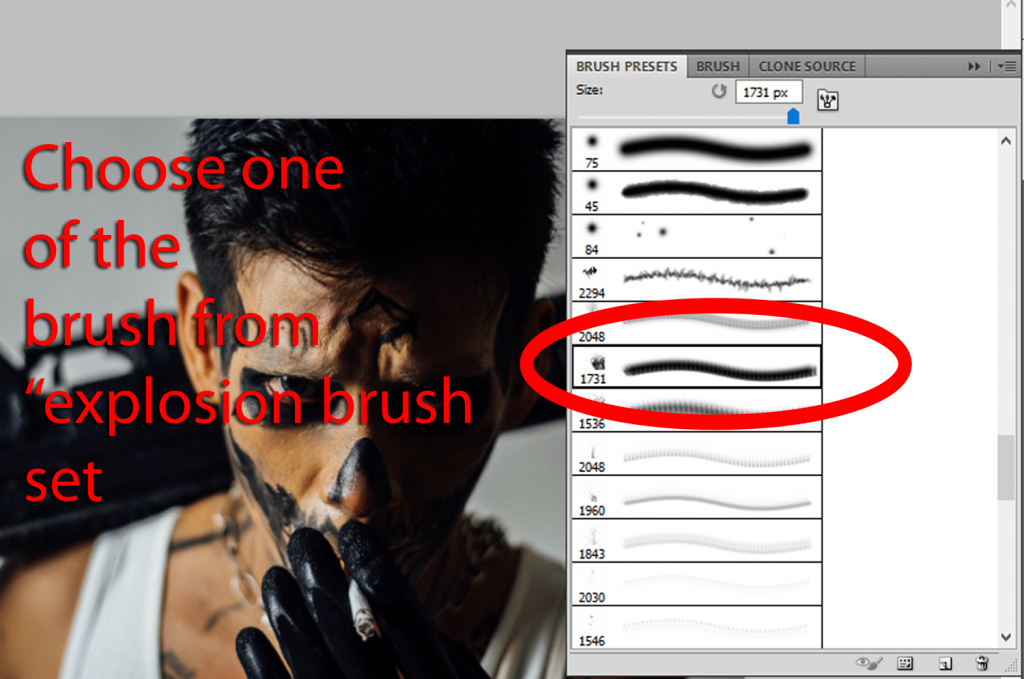
6) After creating a layer, click on Windows panel again. Choose “brush presets”. The brush panel will appear and locate newly installed brushes, normally can be found at the bottom.
7) Once explosion brushes are located, feel free to choose from a different set for this sample. I chose preset # 1731.
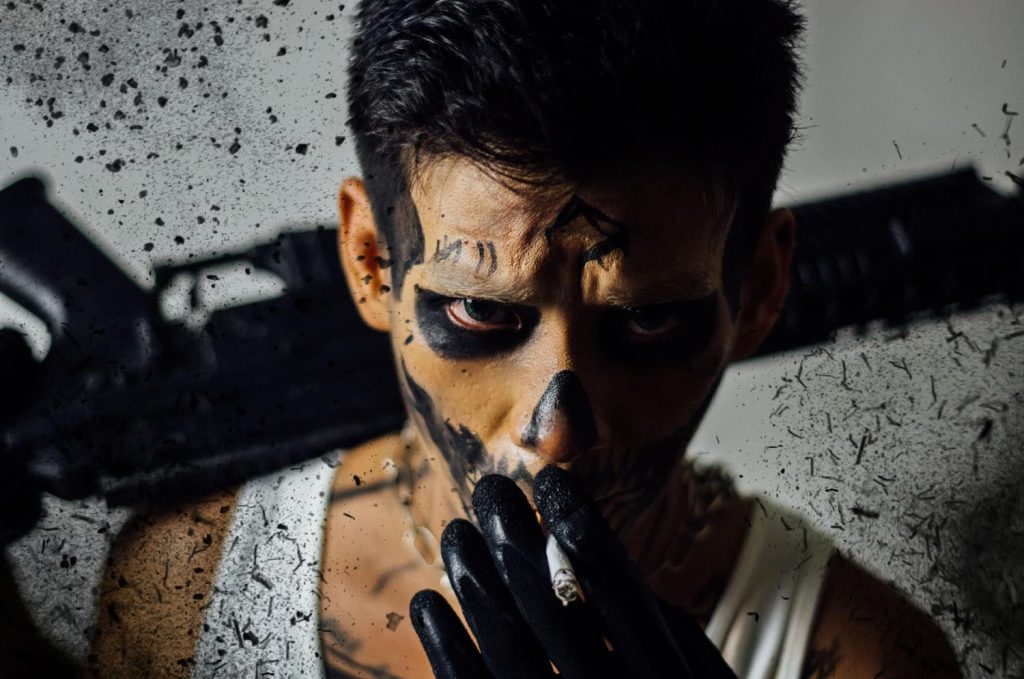
- Hover over the image and right click to resize the brush. Click on the area you want, it’s best to put the brush effects on the corners of the frame, but I highly suggest that you always click on new layer ( see #5 ) for every application of the brush tool so you can edit brush effect individually, Don’t forget to check the colour of your brush, you may change the colours of your brush on the colour panel somewhere at the bottom of your toolbox as a default.

- Repeat the steps 5-8, depending on how many brush effects you want. Careful not to overdo it. Things are getting interesting on this phase now
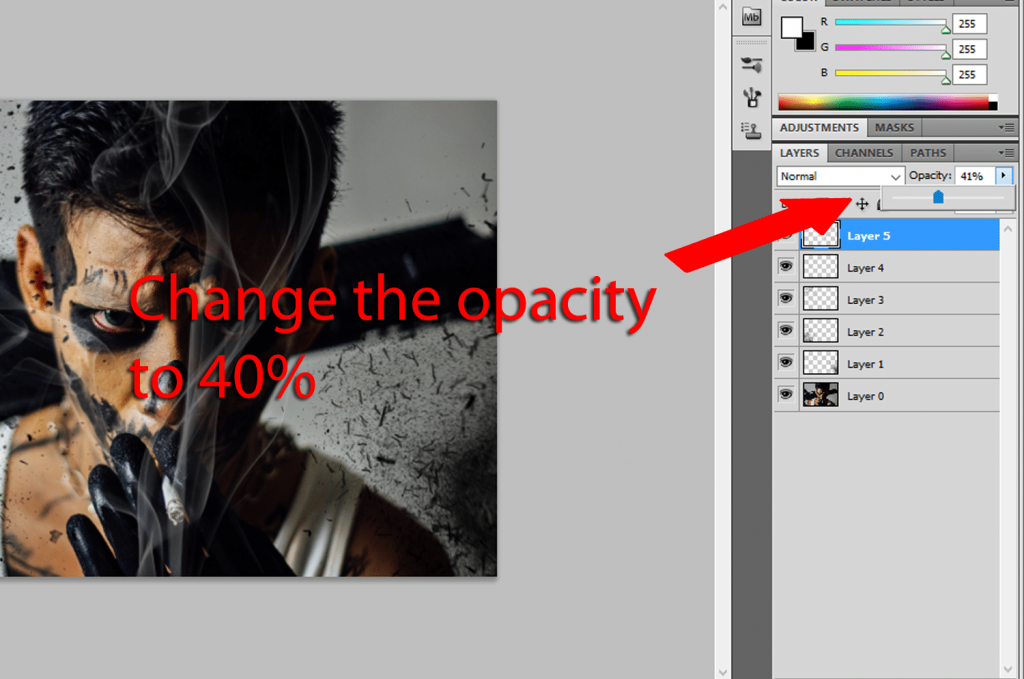
10) Locate the “smoke” brush (see step 3). Create a new layer and apply the smoke effect brush on the area in the image you prefer, then change the opacity to 40 % (there are several smoke effects you can play with).
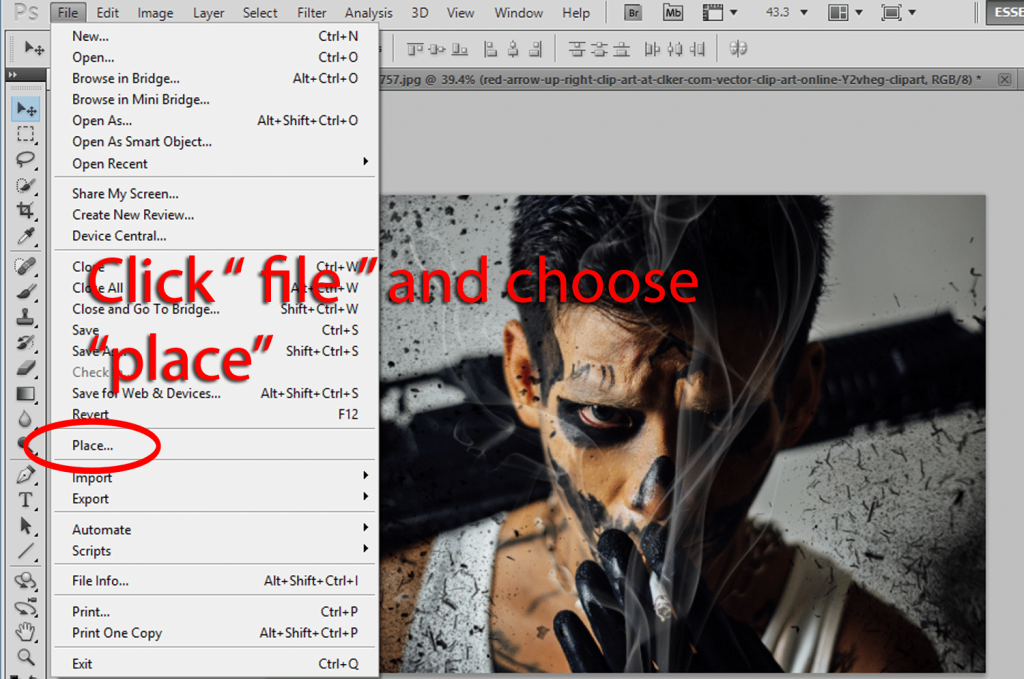
11) Click on “ File” on the dropdown menu, choose “ Place” locate the “ light leaks “ folder. Resize accordingly and then hit enter.
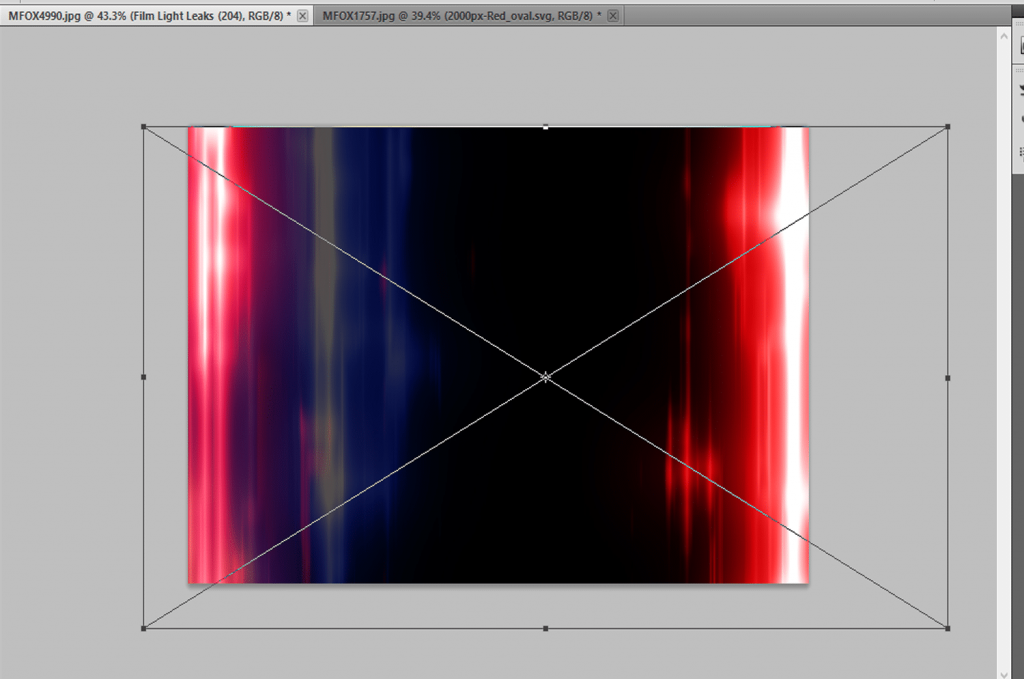
12) When resizing the light leak image, it’s better to have it bigger than the canvas, once you are happy with the size press Enter.
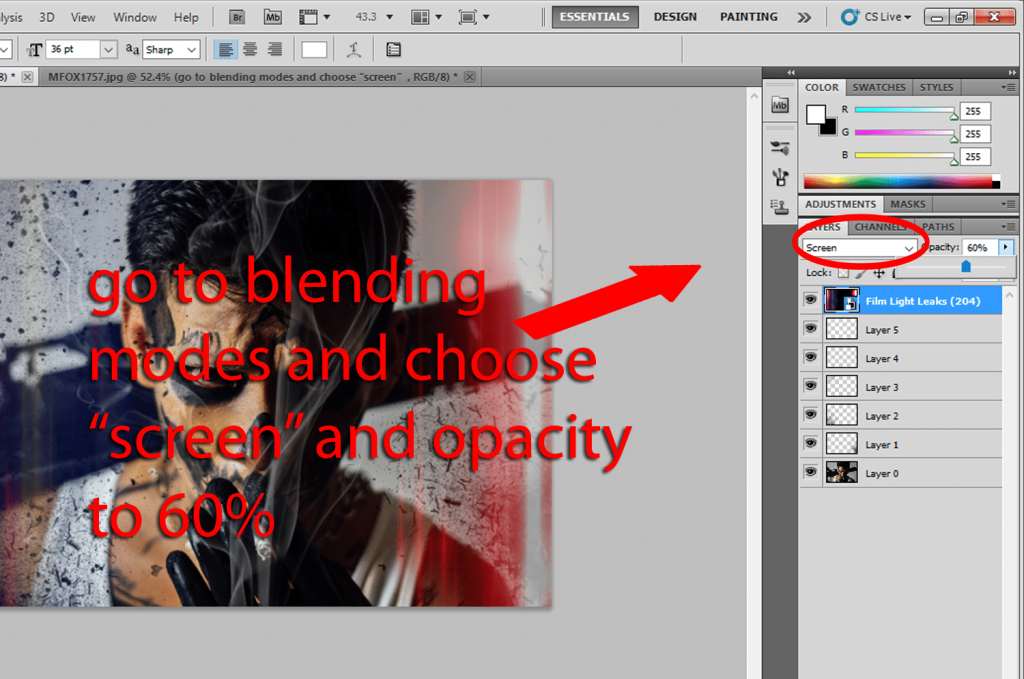
13) Once the light leak is on it’s place, change the blending mode to “screen” and change the opacity to 60%, this will make the light leak blend even better on the image, see it’s like mixing a cocktail! Feel free to delete the light leak on the layers panel if you would like to try the other light leak effects from the collection.
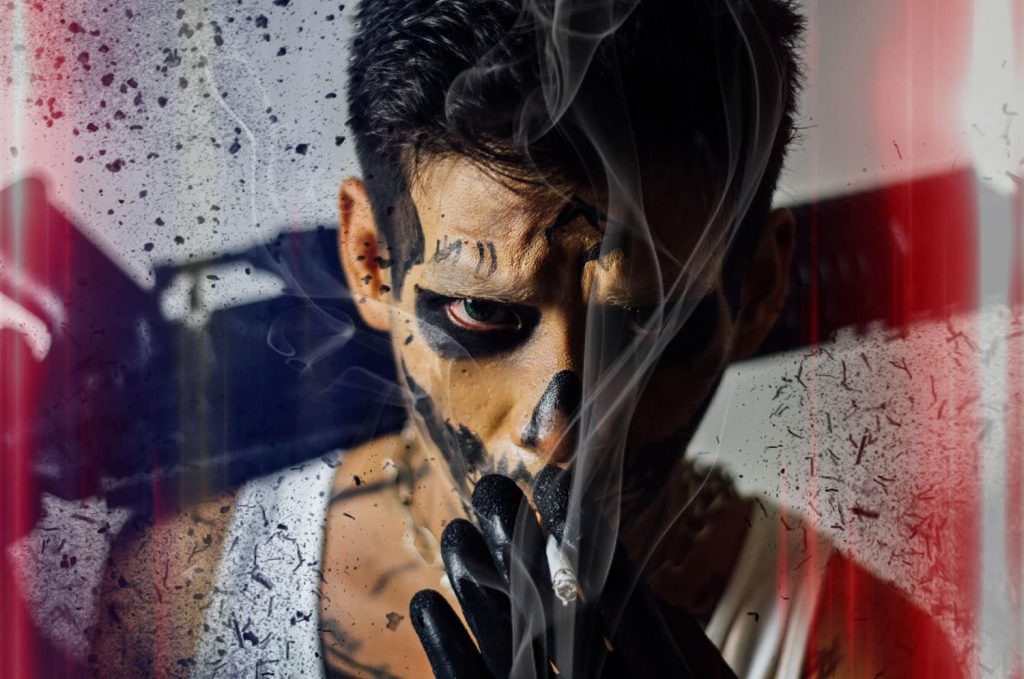
You have now a dramatic effects on your Image, this method is not for all images, this is best to use for close up portraits or you simple wanted to add elements on your images using brush tool, there’s a lot of brush presets online for free, you may add snow, fire, water all a lot more interesting textures. And below is the finished product!
[showad block=2]