When you are shooting with a good camera and lens and the aperture is wide open, you can create a nice depth of field effect. But sometimes it just won’t cut it especially if you want to artistically add more bokeh to your image, in this tutorial you will learn how to simple add bokeh light effects on your image, this works especially when you have a dark image or dark background.
First things first, please download the image sample and bokeh effects below.
Links to image and bokeh effects:
Link to Image: http://reine-haru.deviantart.com/art/Rowena-Braids-Stock-268905936
Link to bokeh effects: http://www.pedschwork-fotodesign.de/blendenflecken/
[showad block=2]
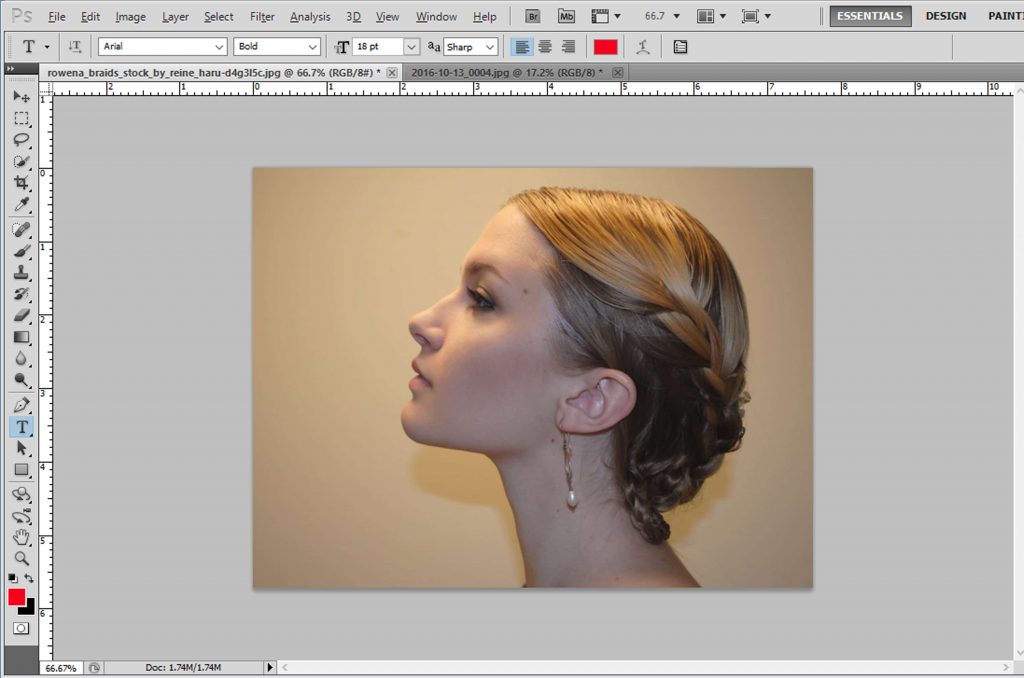
- Open your image in Photoshop
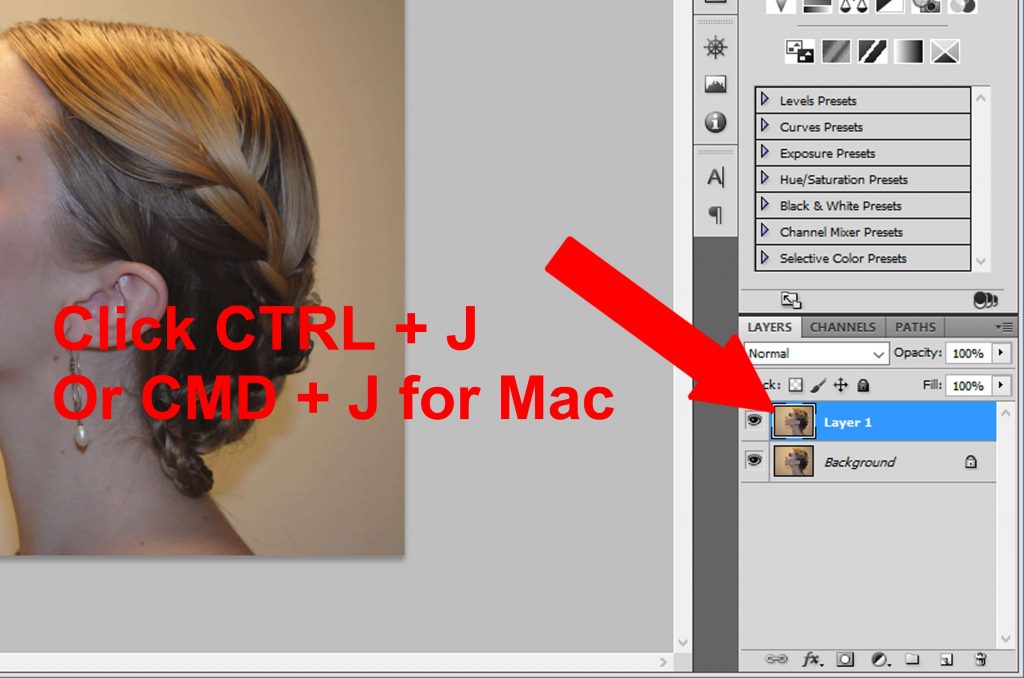
2. Duplicate image. Do this by pressing CTRL + J or CMD + J on MAc
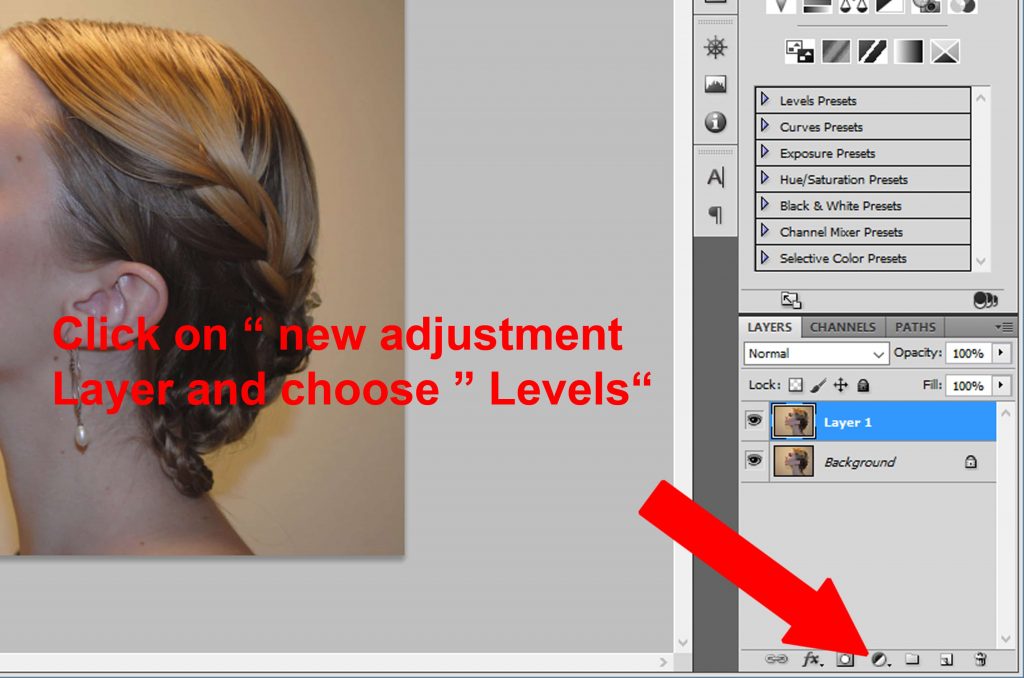
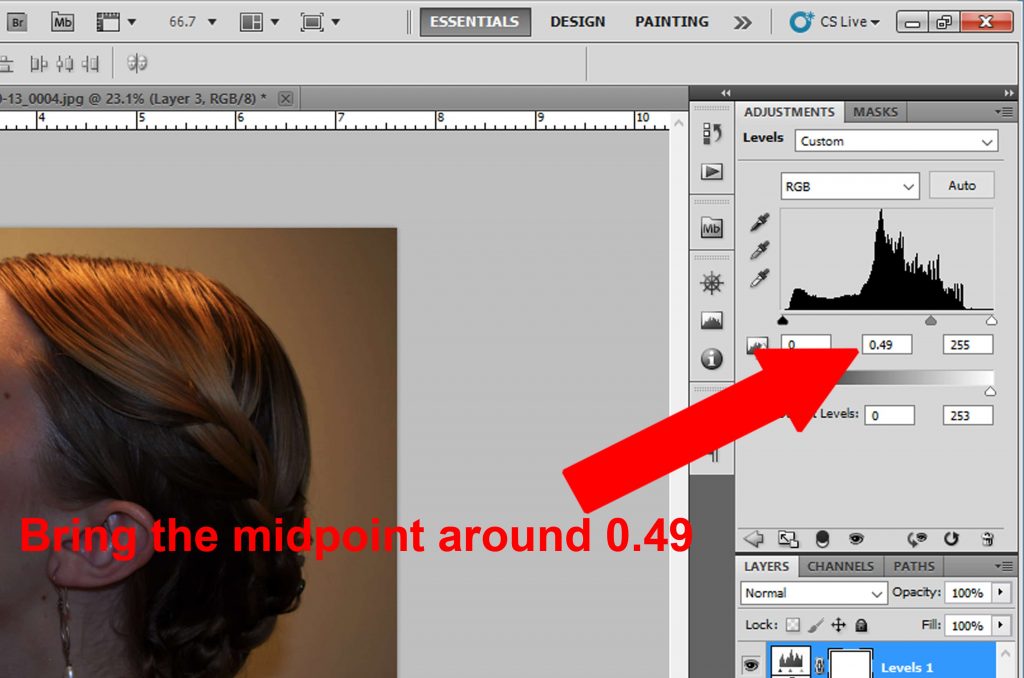
3. Select a new adjustment layer, we need to darken the image so the bokeh will have better effects and blend more efficiently
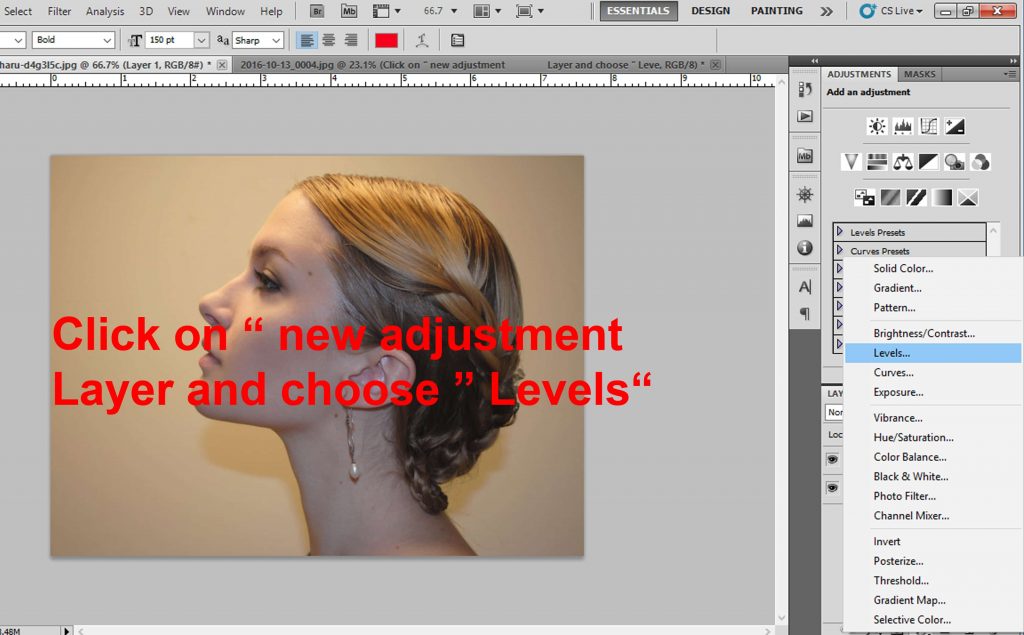
4. Choose levels to darken the image
5. Bring the middle point to 0.49 to darken the image
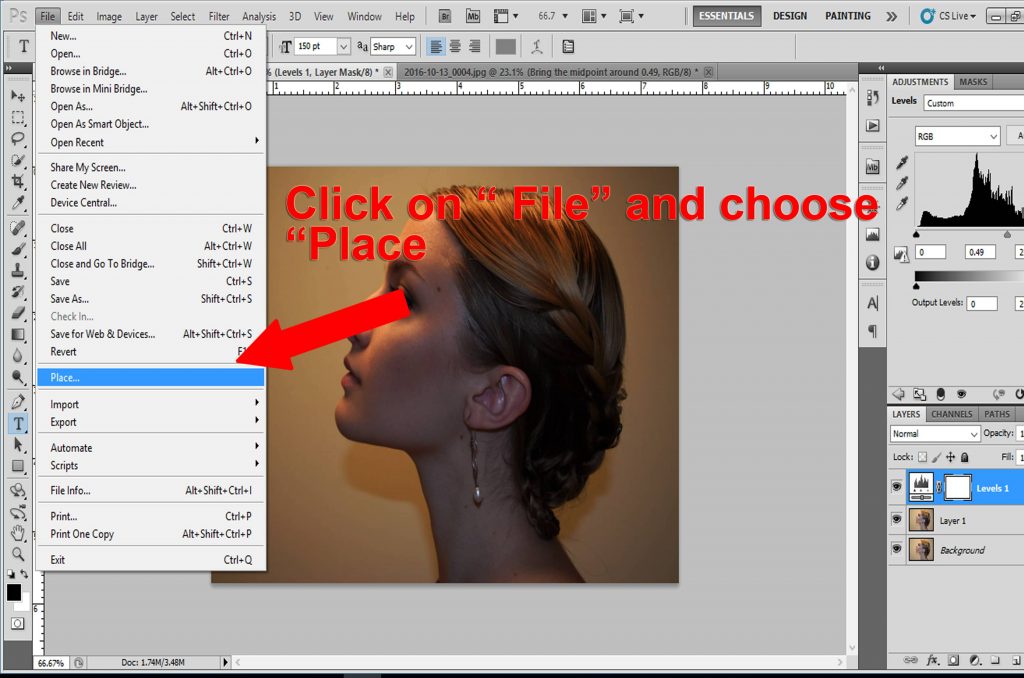
6. Now that the image is darker. It’s time to add the bokeh effect. Click on ‘file’ and look for the bokeh effects you downloaded earlier
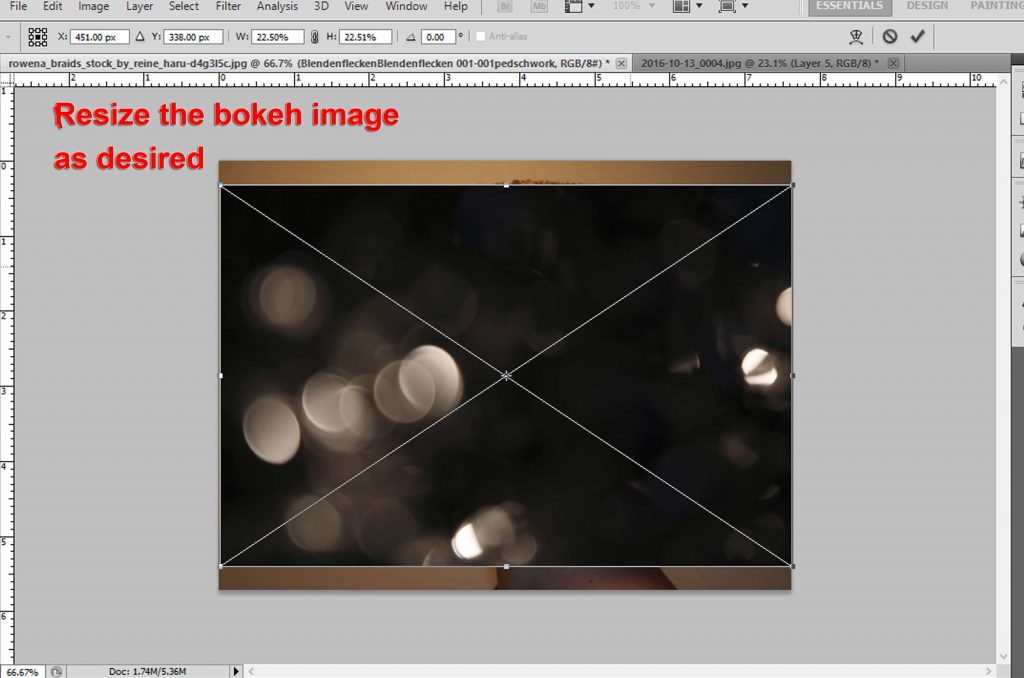
7. Resize the image as desired, try not to overlay the bokeh effects on the main subject, but if you do, you can easily remove some of the effects later
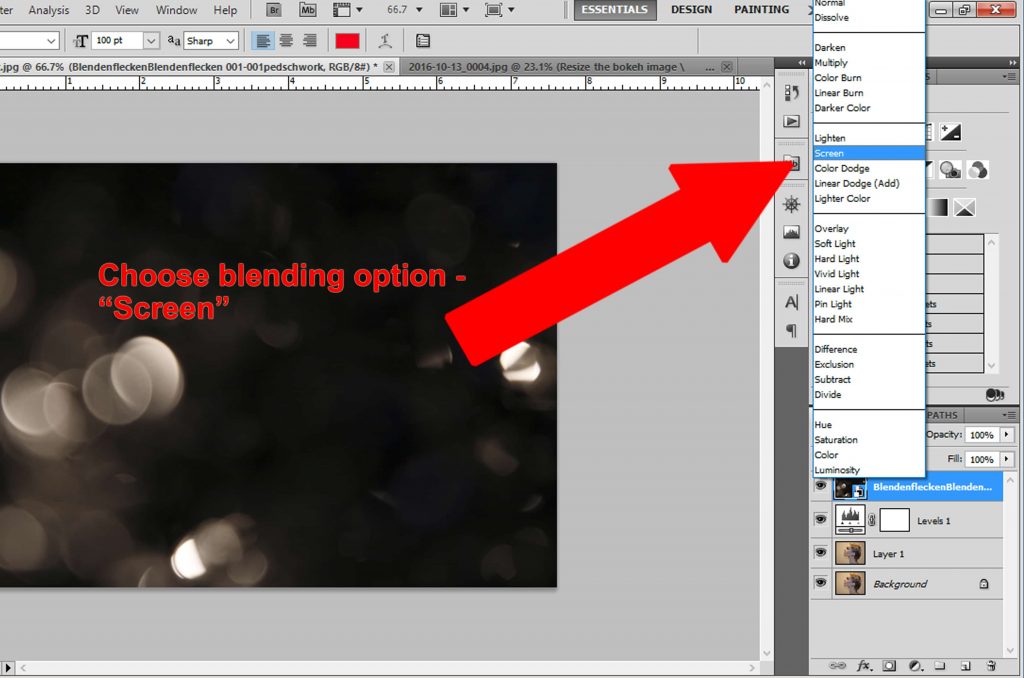
8. Select ‘Blending option’ to effectively blend the bokeh effects on the main image. Select ‘Screen’
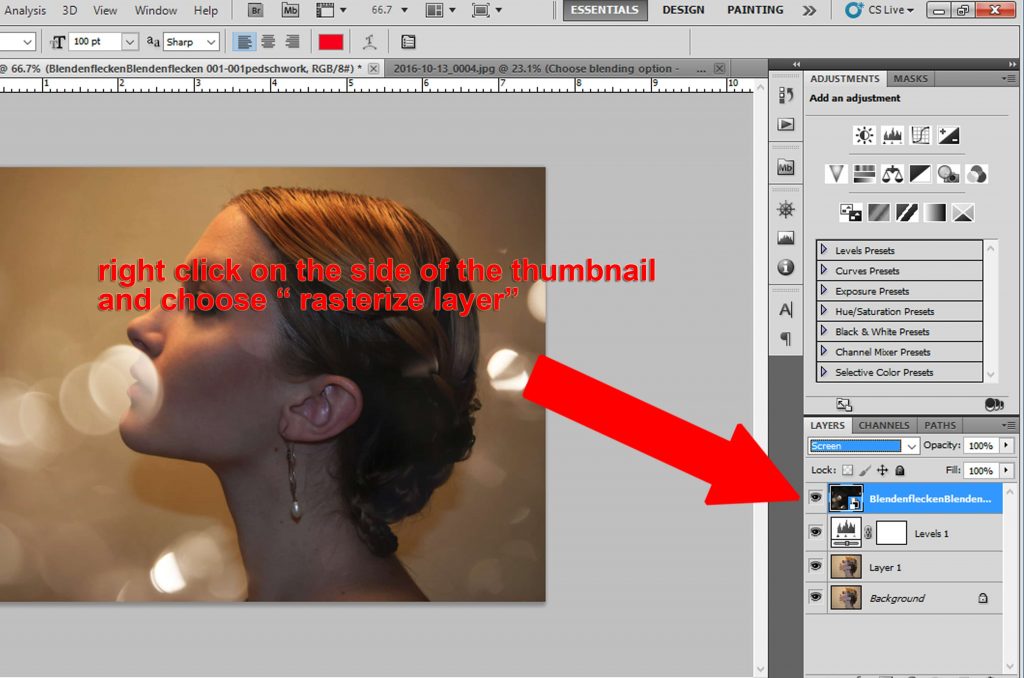
9. Click on the space right next to the thumbnail and select ‘rasterize layer’, this allows you to edit the Bokeh effects
[showad block=2]
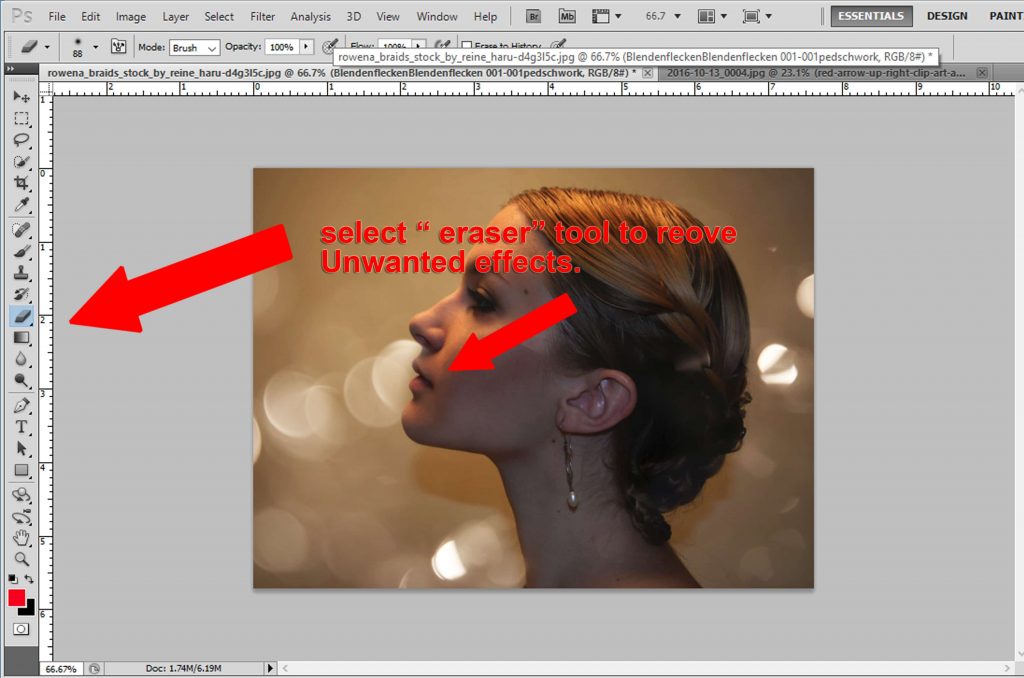
10. Now that the bokeh image is editable, you can erase some the effects that are blocking your image
Once you’ve done this why not add your photos to our free photo hosting site ClickASnap? You can even earn some money too!