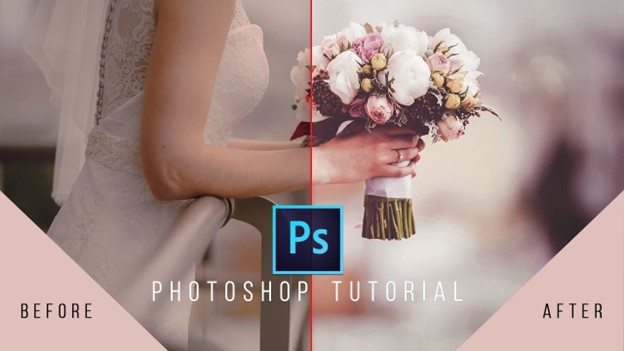
You’ve spent all of your time getting the perfect shot, now how do you make sure that the photo looks as good when it’s printed as it does on your computer screen? Preparing your photos in Photoshop isn’t as hard as you might think, especially with our quick and easy guide! We’ll show you how to edit wedding photos with Photoshop, from preparing them to be printed to touching up small imperfections in the photo. Follow our quick and easy guide and you’ll be ready to print your pictures out at home in no time.
Blur an Area
Now that you have copied your exposure layer, it’s time to begin working on the area of the photo you want to blur. Make a new layer and use the Elliptical Marquee Tool to draw an oval (the size doesn’t matter) around the area where you want to blur.
Hold CTRL while clicking on this new layer and selecting Reveal All. Now select Filter>Blur>Gaussian Blur. When the Gaussian Blur window pops up, enter how many pixels you want to blur by.
The higher number of pixels, the more blurred out that area will be. Drag this layer below your exposure layer so they are both on top of each other. Select both layers by holding Shift+Ctrl+Alt, then go to Layer>Merge Layers.
You now have one layer with two copies of the same content – one with no blur and one with a soft blurring effect applied to it. Delete the unwanted copy by going to Select>All, then Edit>Cut or Delete if you’re using Adobe Acrobat Pro DC software.
Adding Color
1. Click Select and then the color you want from the left-hand side of the screen.
2. Click on the photo, hold down your mouse button, and use your finger to draw around a section of that color.
3. Repeat steps 1 and 2 until you have all of the sections filled in with that particular color. Double-check your work for accuracy by clicking on View>Show>Outlines.
Then, click File>Save As (name it something so you know what it is). Next, go to Edit>Transform>Scale and make sure Scale proportionately is checked. Finally, hit Enter or Return twice to exit out of Photoshop and open up Adobe Acrobat Reader.
If you don’t already have this program installed, download it from their website. Once you’ve opened the PDF file in Acrobat Reader, choose the Print option at the top of the page.
From there select Page Scaling, Page Scaling Options, and then choose either Fit Page or Reduce/Enlarge. Make sure that there are no boxes next to Rose Halftones and hit okay. You’re now ready to print your picture.
Adjusting White Balance
One of the first things to do in Photoshop adjusts the white balance for the save the date template. I use my eyedropper tool to select a gray card and then adjust the Temp/Tint sliders until they look as natural as possible. Once this is done, you can perform any other editing necessary (a lot of times it’s cropping).
You can also add digital vignettes with a filter, which will darken the edges of your photo if you need it for framing purposes. There are many other options within Photoshop that allow you to edit images to prepare them for printing; just be sure not to overdo it or lose detail by adding too many filters. If you’re unsure about how to get started, there are plenty of online tutorials available. A quick Google search for Photoshop tutorials yields thousands of results.
Sharpening Details
Sharpening the details of your photos is important if you plan on printing them. First, open your photo in Photoshop and click Filter > Sharpen. If you’re going to print your photo as a standalone picture, sharpen it to an extent.
However, if you’re uploading it to an online postcard save the date where many people can view the photo at once, it is not necessary to sharpen it too much because there will be no clarity loss due to different computer screen resolutions.
It’s all about preference! There are many ways to edit wedding photos. Sometimes editing them can seem like a hassle but with some patience, you’ll find that it doesn’t take long at all to do it. It only takes a few minutes to upload and share your edited photos so don’t procrastinate! Editing your photos is fun, especially when you see the end result.
The whole process can also serve as good practice for other photo-editing tasks such as sharpening images or converting them into black and white. Play around with these techniques to get familiar with how they work. Who knows? You might even stumble upon your favorite way to edit photos.
Improve Hair & Skin Tone
There are many ways to improve the appearance of hair and skin tone. It is important to find out which method works best for the situation before you apply it. If someone has very fair skin, they may prefer to make their own adjustments with contrast, lightness, color and/or darkness levels. There are also effects that can be used like sharpening or softening edges.
Once this is done, save the photo as a copy in case any changes need to be made. The next step would be to crop and resize the photo so that it will fit into a standard size such as 4×6 inches or 5×7 inches. When printing, there will likely be some cropping on one side so if possible, try not to crop off more than 20% of an image when saving a copy for printing purposes.
Once all steps have been completed, finalize the process by running another check to see how everything looks. You may want to go back and tweak your work at this point but once you’re satisfied, it’s time to print.
Don’t forget to sign up for ClickAsnap once you have finished your photos!