A number of people have commented on some of the pictures posted in my post on various social media sites and have asked how the pictures like the examples below are created:
[Best_Wordpress_Gallery id=”8″ gal_title=”photographic balls A”]
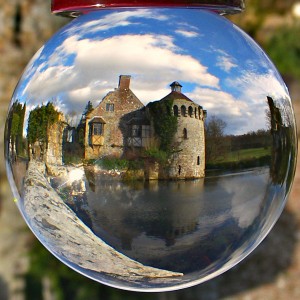
The images above show Batemans, Rudyard Kipling’s house in Burwash Sussex – the main house at Scotney Castle and Etchingham Church, all viewed in a slightly different way to normal.
How to do it and what you need:
These images are produced using one of two simple props, a crystal ball or a chrome ball.
The crystal ball;
The crystal ball is in effect a lens, when an object is viewed through the ball it will be reversed and you will see the image upside down, to get the desired effect you need to place the ball a reasonable distance away from the object being photographed. The distance between the subject matter and the crystal ball will be dictated by the size and scale of the object to be photographed, so quite often a bit of experimenting with distance is required. You can often find a suitable wall, fence, rock or similar to set the ball on, or you could us a camera tripod with a small platform fitted instead of a camera, that gives you more flexibility when placing the ball. If your location for the ball is not flat enough to accommodate the stand you could use a bean bag or similar to support the ball, often you can dispense with the stand for the ball, if for instance the top of a wall has a nice coating of moss placing the ball on the moss can enhance the final image.
[showad block=2]
Once you have set the ball up in the correct location you focus the camera on the ball (not the subject) making the ball the centre of the frame, ensure you get a sharp image in the ball, the object being photographed will be visible but usually out of focus. For best results use the close-up setting on the camera, although you can sometimes get acceptable results with the camera set on Auto.
I have two crystal balls, one is approx. 55mm diameter, the other 100mm. The larger crystal ball produces the better results but is fairly heavy, so sometimes it is more convenient to use the smaller one.
The chrome ball;
The chrome ball I use is approx. 60mm diameter, a larger one would certainly improve results, but as the ball is solid it is quite heavy so a larger one would be less convenient to be carrying around.
The technique is different with the chrome ball which acts like a mirror, so you are photographing subject matter that is behind you. As with the crystal ball you need to find a suitable location for the ball, using the same methods as with the crystal ball, the difference is that you, as the photographer, will also appear in the image in the ball, so a little more experimenting with position may be required to get the desired end result. As with the crystal ball, use a close-up setting and focus on the ball keeping it in the centre of the frame
The props;
The picture below shows my three balls, two types of stand for the small balls, a wooden stand for the large ball and two different coloured bean bags. Not shown in the image below I also sometimes use an extending monopod with a spike, I have added a small stand to the top, this enables me to place the ball in a good position in relation to the subject when there is not a suitable object to rest the ball on, for example where a building has a large expanse of lawn in front.
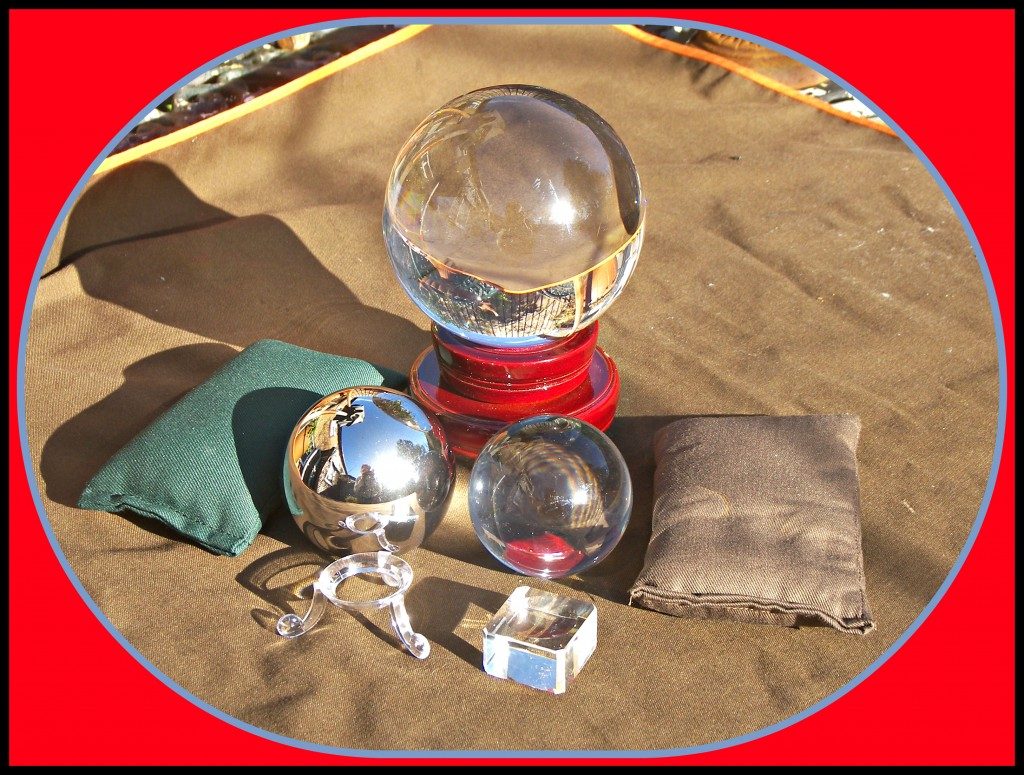
One item is not shown in the picture – in a tricky location a small piece of ‘Blu Tack’ or similar can be used in place of a stand.
Setting up the pictures;
For this demonstration I have used Etchingham Church:
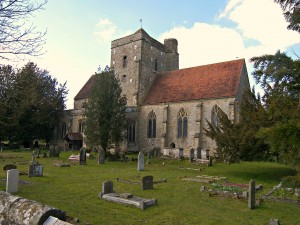
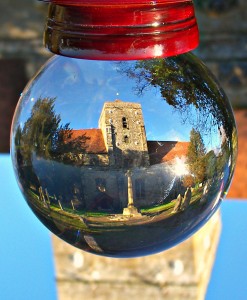
For an image using a crystal ball I used the 100mm ball placing it on a patch of moss on top of the churchyard wall, I have taken a number of images from different angles, with and without a stand.
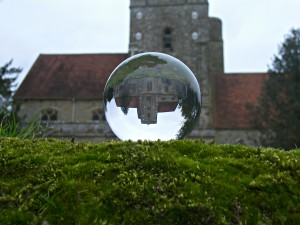
I then used some basic picture editing software to crop the image, and turned it upside down so that the Church now appears the right way up, suspended from a mossy ceiling.
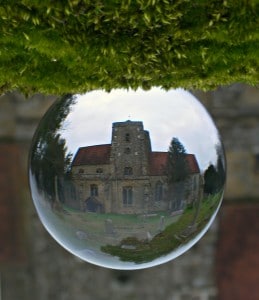
The image of the church in the pictures at the top of the page was cropped from the image below:
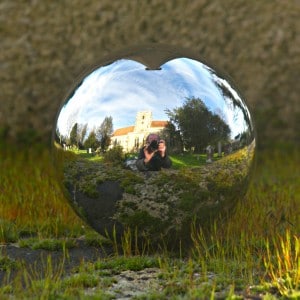
For an image using the chrome ball I set the ball, without a stand, on the top step of the War Memorial which is located half way up the path leading to the south door of the church. The final image was cropped to produce a square picture and the eventual image was enhanced by the moss on the stone.
[showad block=2]
Where to get the crystal and chrome balls;
You can find the crystal balls on a number of websites, I got mine from eBay where you will find a lot of sellers have them, the small ones can be obtained for £3 up to around £6, the larger size £12 up to about £20, larger sizes can be obtained but they cost at least £40 and are a bit heavy to carry around. The chrome balls are a bit more difficult to find but you can get one for around £12 for one big enough to work with.
The balls usually come with a perspex or wooden stand to suit the size of the ball, but stands of various types are readily available online.
Article courtesy of Colin Boylett
Photos :