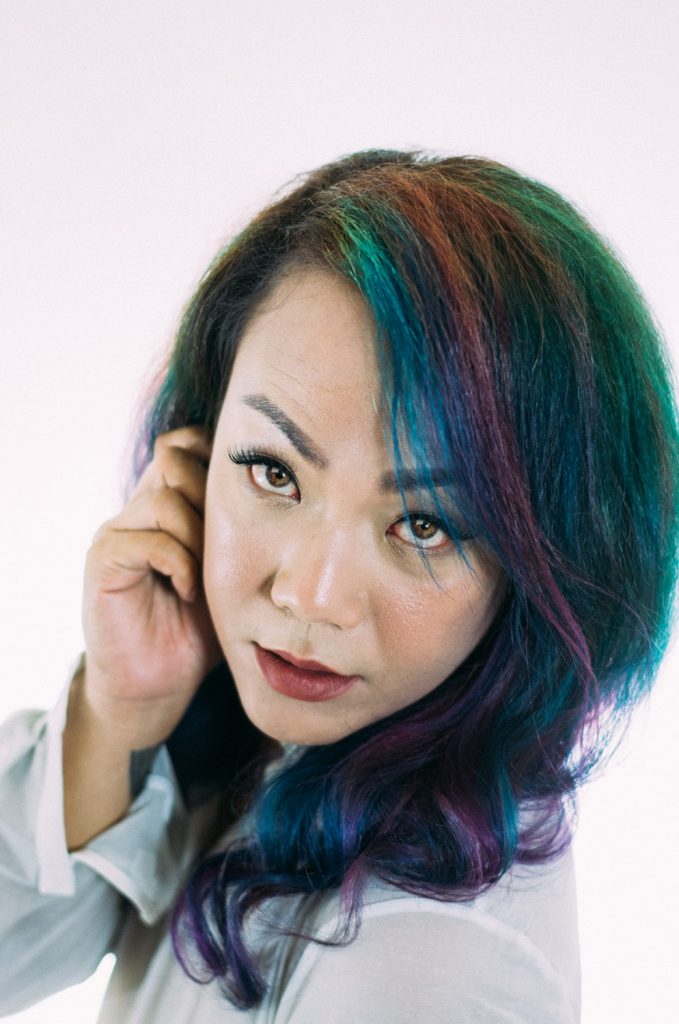
Few weeks back I had a photoshoot and I wanted the model to wear contacts lenses to change her eye colour, but she forgot to bring it. In this tutorial will show you how to quickly and easily change the eye colour.
Link to the sample image. https://drive.google.com/a/picture-this.tv/file/d/0B3fXEiM8BRX5Xy1TQWNxeGlxQ1E/view?usp=sharing
Link to the eyes image: http://shadowprince14.deviantart.com/art/Brown-Eye-Saved-as-PNG-to-preserve-transparency-527932047
- First is open the image in Photoshop.
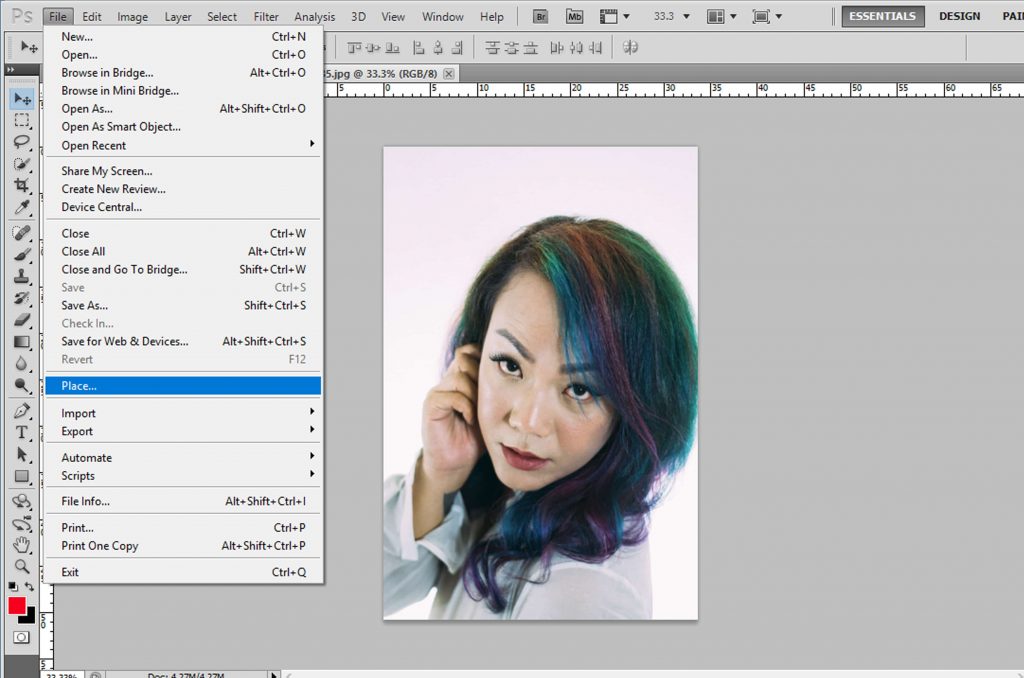
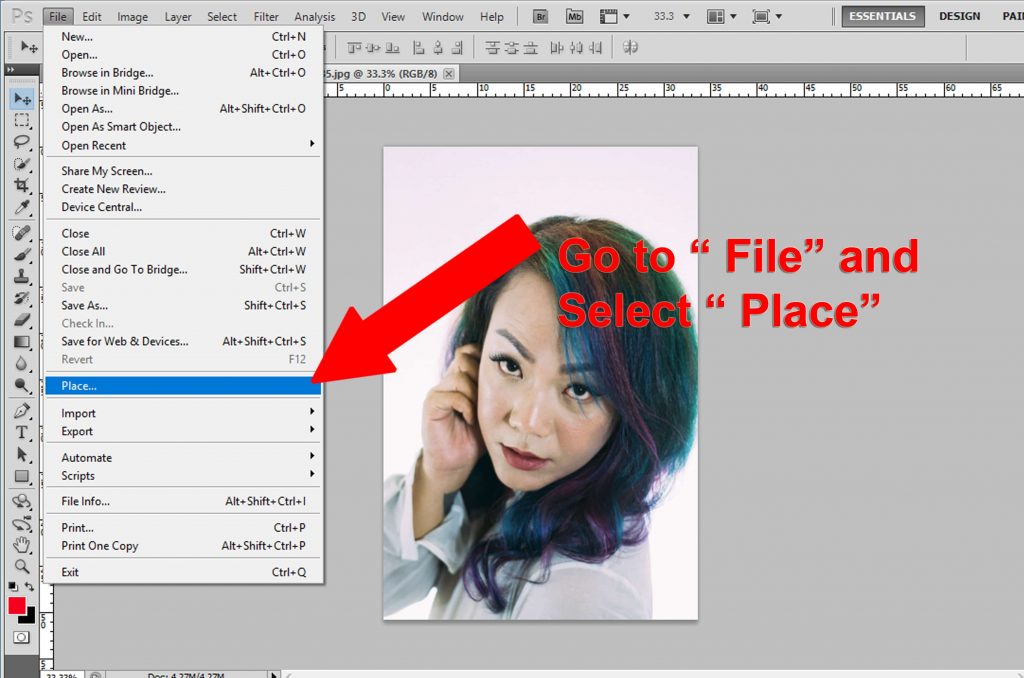
- Go to File and select “ Place” find the eyes image where you saved it.
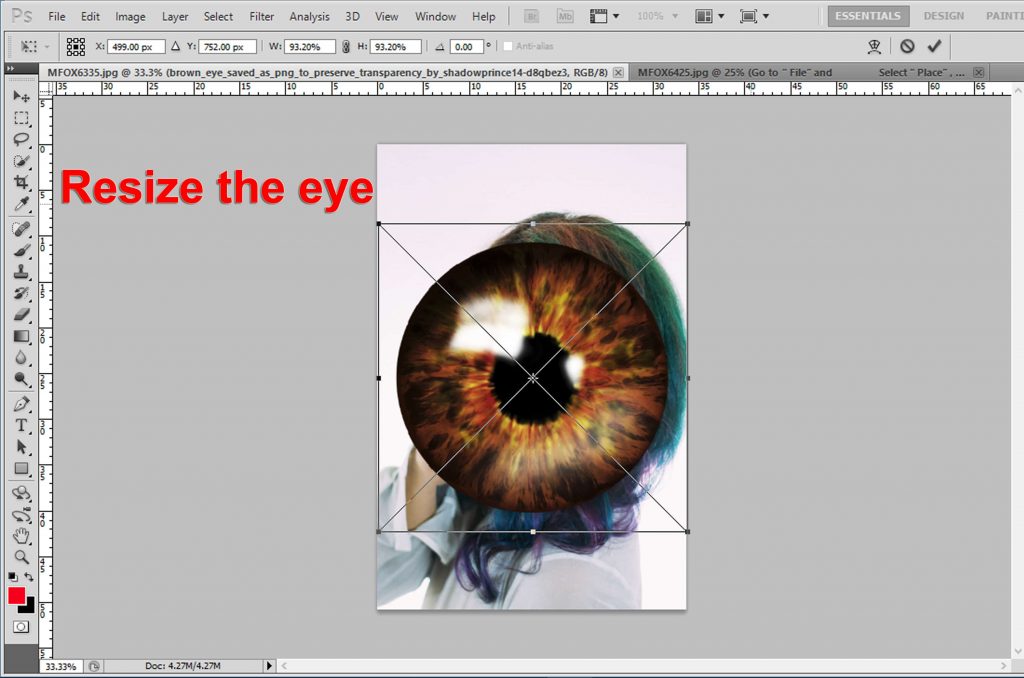
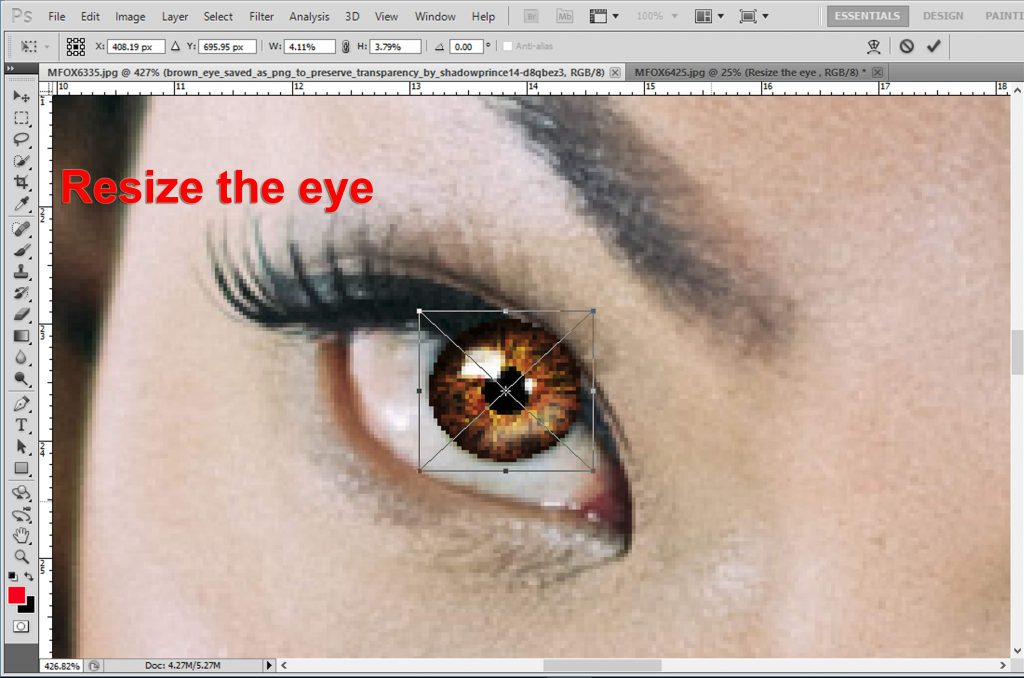
- Once you have the eye image on Photoshop, resize the image would be helpful when you zoom in so you can see how the details and have the eyes sized same as with the models eyes.
[showad block=2]
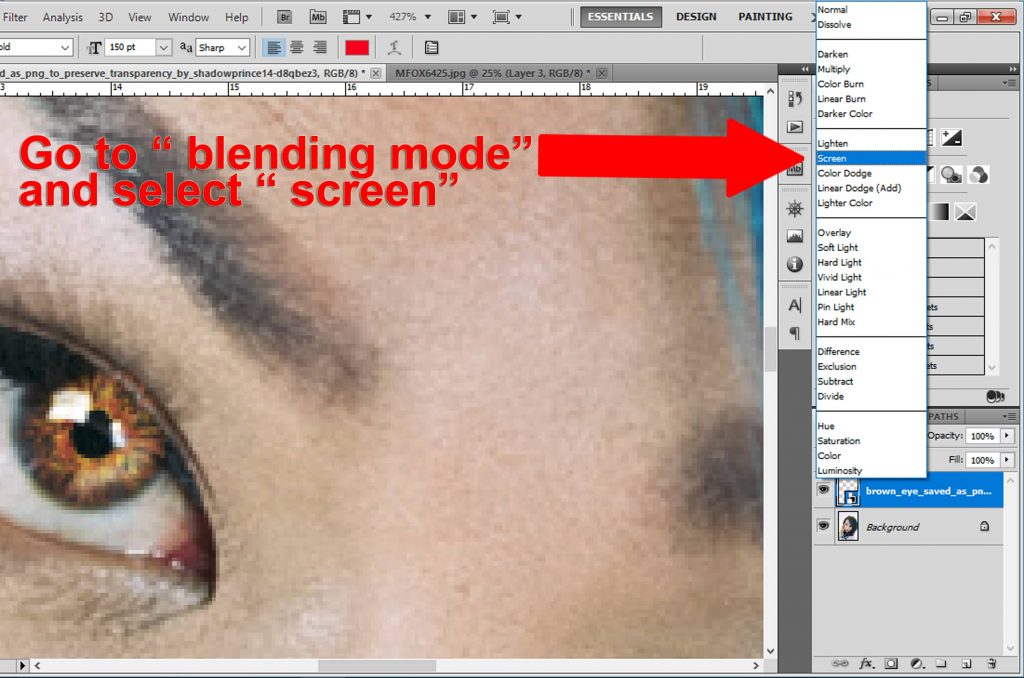
- Go to “ blending mode” and select “screen”.
- Change the opacity accordingly, for this image I chose 65%.
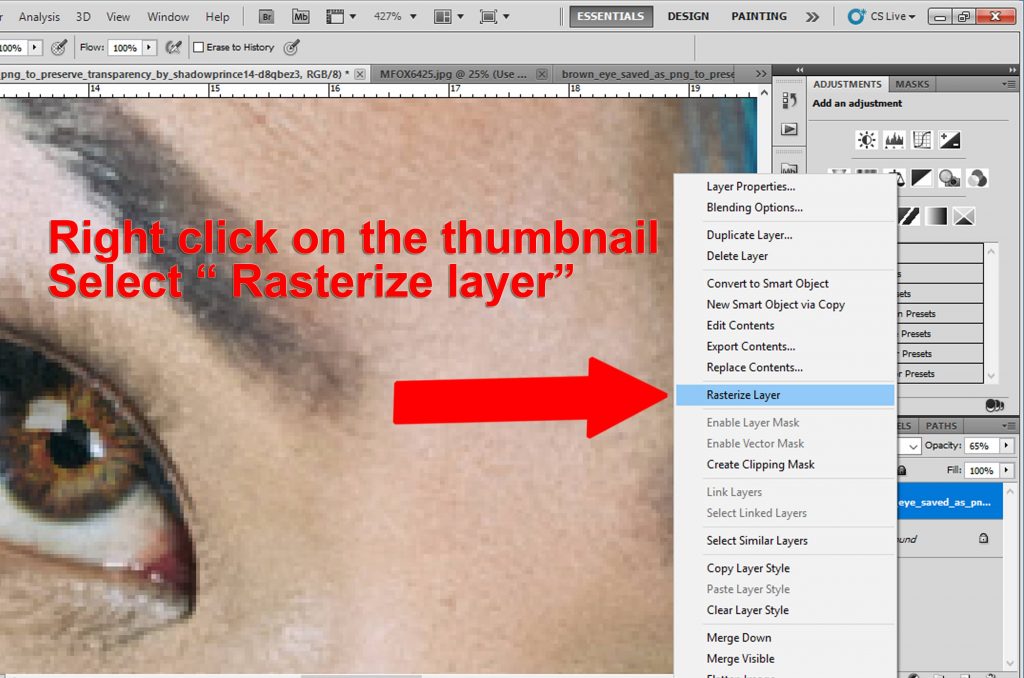
- Right click the eye layer this will make a pop up window and select “Rasterize layer” this will make the eye colour more editable.
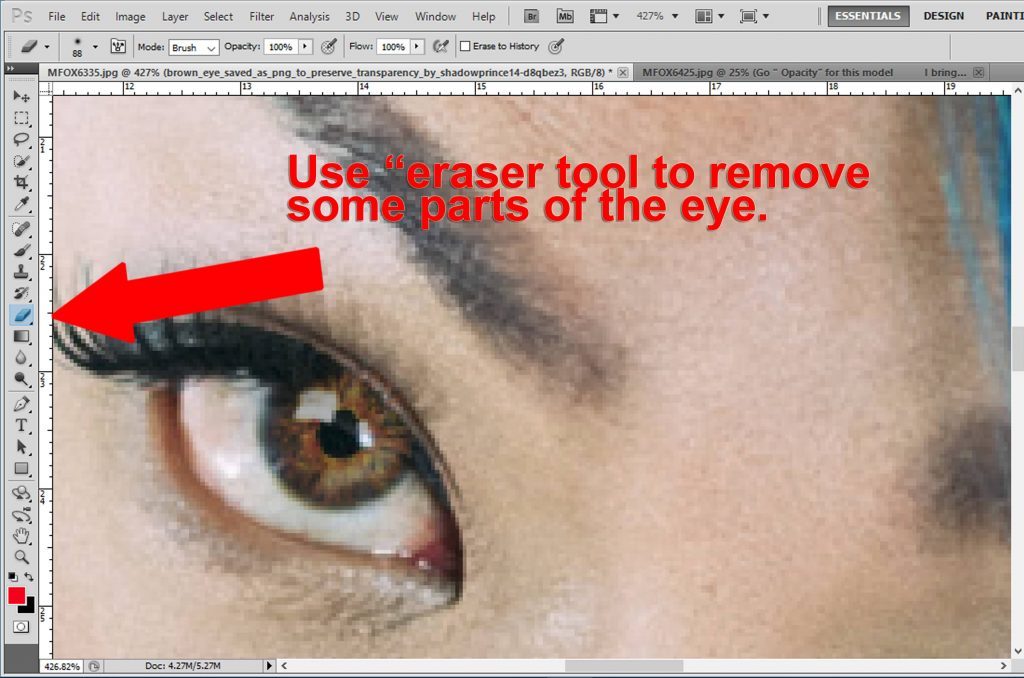
7. Go to ‘Eraser’ tool and remove any unwanted effects
[showad block=2]
8. Use CTRL + J or CMD + J to duplicate the eye image layer, then move the copy to the other eye. You may rotate the angle if needed