Have you ever wondered if it is possible to add snow in Photoshop? In today’s article, I’ll show you that all you need is a custom brush and some blurs to create your own winter wonderland!
Link to Snow brush here
Link for sample image here
Download this file first before you start and remember where you saved it.

First thing you need to do, is to load the image into Photoshop, I have already included a sample image for you to use.

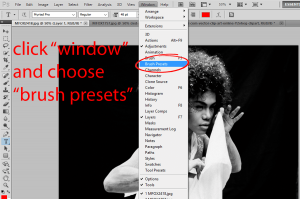
Unzip the snow brush preset and install it. On the menu panel, click on “Window” and choose “brush presets”. Make sure that the brush tool is activated or currently in use.
[showad block=2]
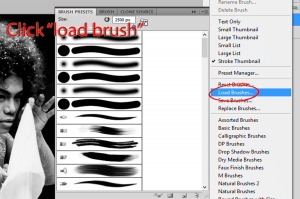
Look for “load brush” and locate the “Snow brush” preset
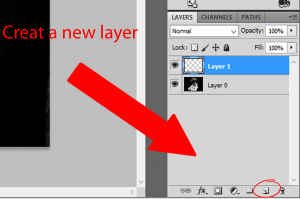
Once the brush is installed, create a new layer. A huge part of making our image look realistic is using multiple layers of snow (literally!). We can use our first layer to create the snow farthest in the distance. These snowflakes will be smaller and should be created with a smaller sized brush.
The next layer will consist of snow that is closer to the camera. This means that it can be painted onto the ground and the subject.
The next layer will have larger snowflakes, and so on and so forth. 5 layers is a good number, but every image is different and this may vary.
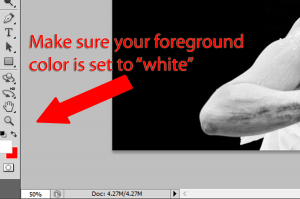
Make sure that the foreground color is set to “white”
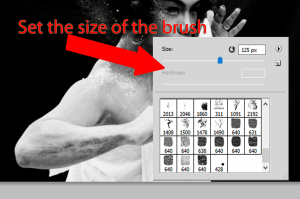
Set the size of the brush. For the first layer will set it the smallest to serve as the farthest from the camera. I set it to 180px
.Apply the brush to areas where you wanted to have the effect. Go to menu and choose “ filter” ->“blur” ->”gaussian blur”. I set the blur to “5.9px”
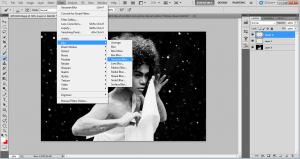
Repeat steps 4-7, creating a second layer I usually set the brush size to 380px and the blur to 2.4px. The third or last layer I set the brush size to 1242px and the blur is set to 1.4px.
[showad block=2]
Final touches. What is the best part about Photoshopping snow rather than shooting in it? You can erase and move as you please! Don’t be afraid to duplicate the layers and move them around to adjust the position of the snow. We can also use the eraser tool to eliminate distracting flakes. If you like this tutorial feel free to share!