Using Natural Light Indoors
Photography is often referred to as painting with light. And while much is written about how to use strobes, Speedlight’s and hot lights in studio settings; or about how to achieve the best results with natural light when shooting outdoors; not enough attention is given to using natural lights in your indoor shoots.

Sometimes things look unnatural in artificial light. Take food as an example – no matter how creatively we use lighting techniques, the results can appear unappetizing thanks to the use of artificial light.
Fortunately, incorporating natural light into indoor settings is very straight forward, and with a little practice can produce realistic effects in all your shots.
Choose a sunny spot
The main requirement for shooting with natural light indoors is that you have a source of natural light. This can be as simple as a sunny window or as pervasive as a glass all season room. It just needs to be an area that will provide enough light to act as the main light on your subject.
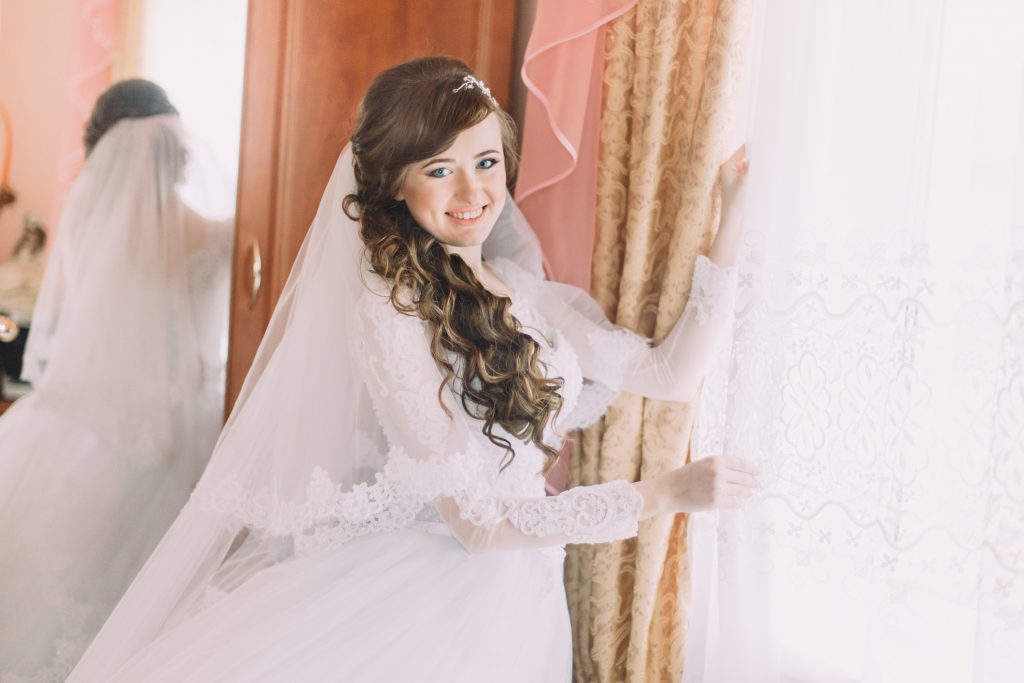
Photo © Andrii Kobryn – Dreamstime.com
All the basic rules of light will apply. Obviously, sunlight equals daylight when choosing your white balance setting. Depending on your light source, the light will either be hard (directional) or soft (diffused) when it hits your subject matter and must factor into how you compose the shot.
Position Your Subject
The closer the subject is to the light source the more light will fall on them. Depending on the intensity of the light, you may need to place the subject very near to the source to get the desired result.
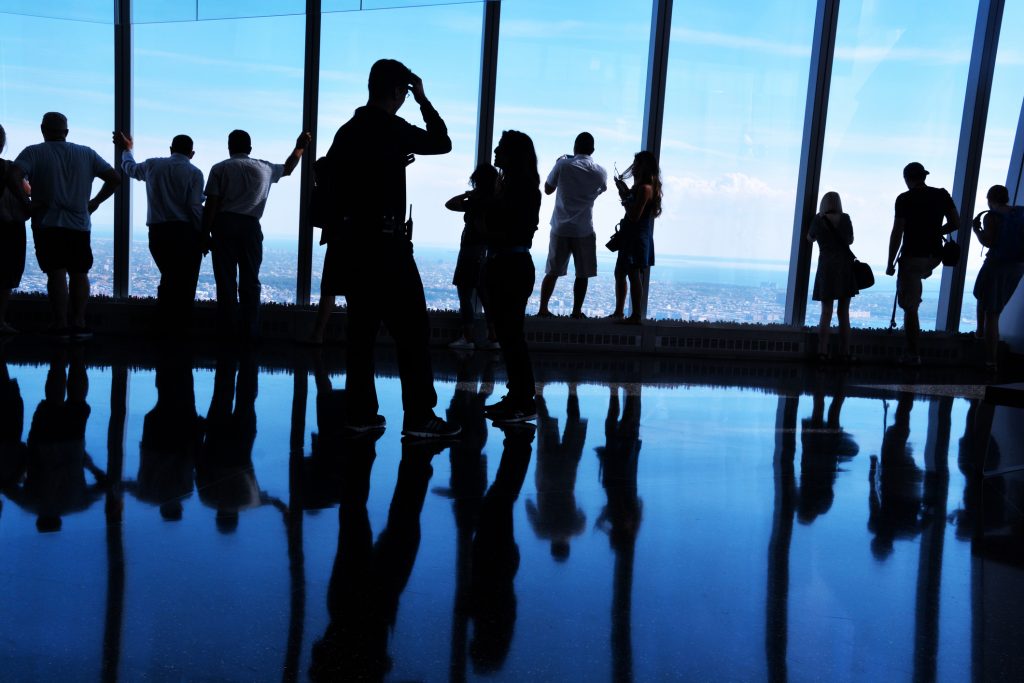
Photo © Adrian825 – Dreamstime.com
Direct of light will greatly impact how the subject will look in the shot as well. Placing the subject in front of the light source can produce dramatic silhouette with halo lighting. Placing the subject parallel or near-parallel to the light will give great contrasting light. And placing the subject across from and facing the light will result in more even overall lighting.
Reflectors
Often natural light will by unidirectional – coming from one direction only – which can add unwanted shadows to your subject, especially if they are in front of or parallel to the light. Adding reflectors on the side opposite of the subject from the light source can bounce the light back and help fill in those shadows.
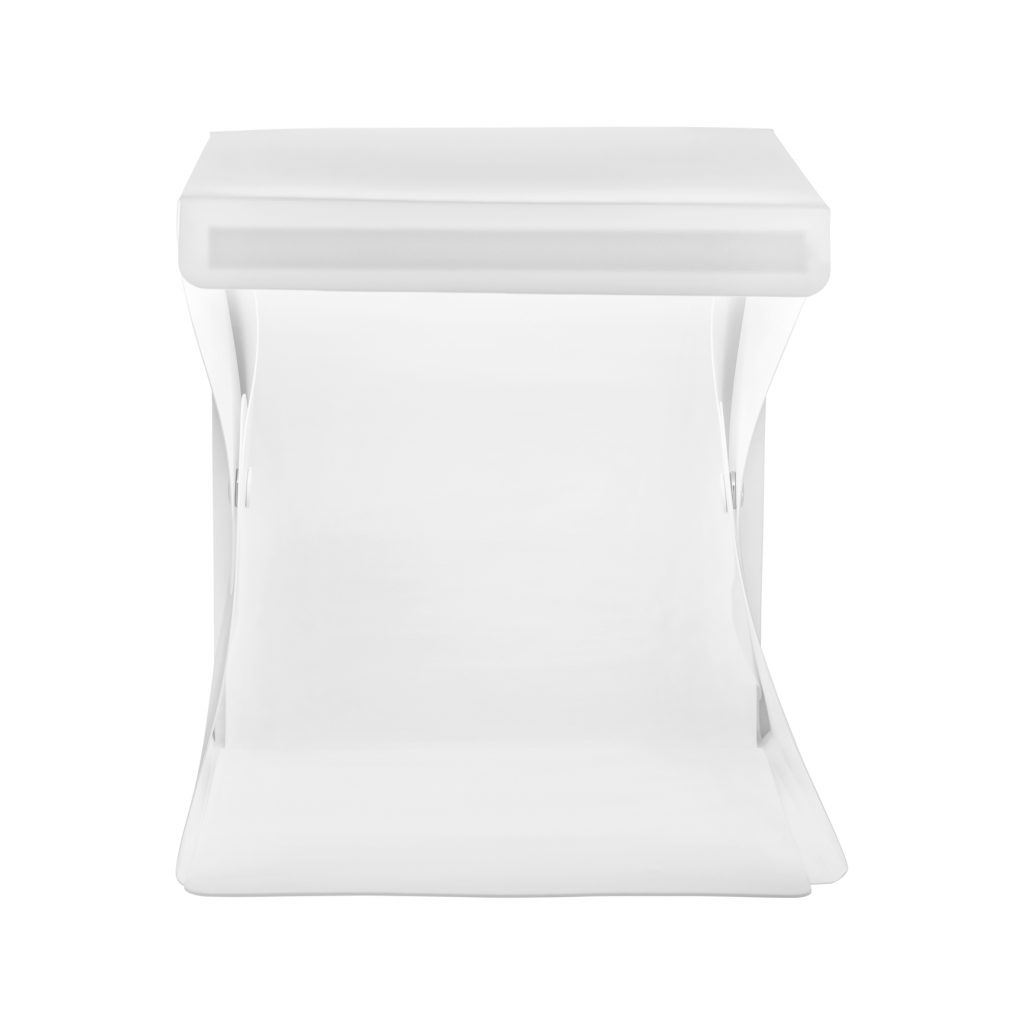
Photo © Chumphon Whangchom – Dreamstime.com
Creating a light box using light reflecting white material surrounding the subject and placing that directly across from the light source, or placing light reflecting materials behind the subject, can also help to create smooth even lighting free of unwanted shadows.
Diffusers
Adding a diffuser to the light source can soften hard, directional light. A diffuser is anything that scatters the light before it reaches the subject. A sheer curtain or sheet over the window will act as a diffuser, as will bouncing the light down onto the subject matter using reflectors.
Shoot wide-aperture
One of the challenges of shooting with natural light is you cannot control the intensity. Shooting on sunny, cloudless days may not cause much of a challenge, but often times you will need to shoot with a wider aperture (lower f/stop) than you are used to using in the studio.
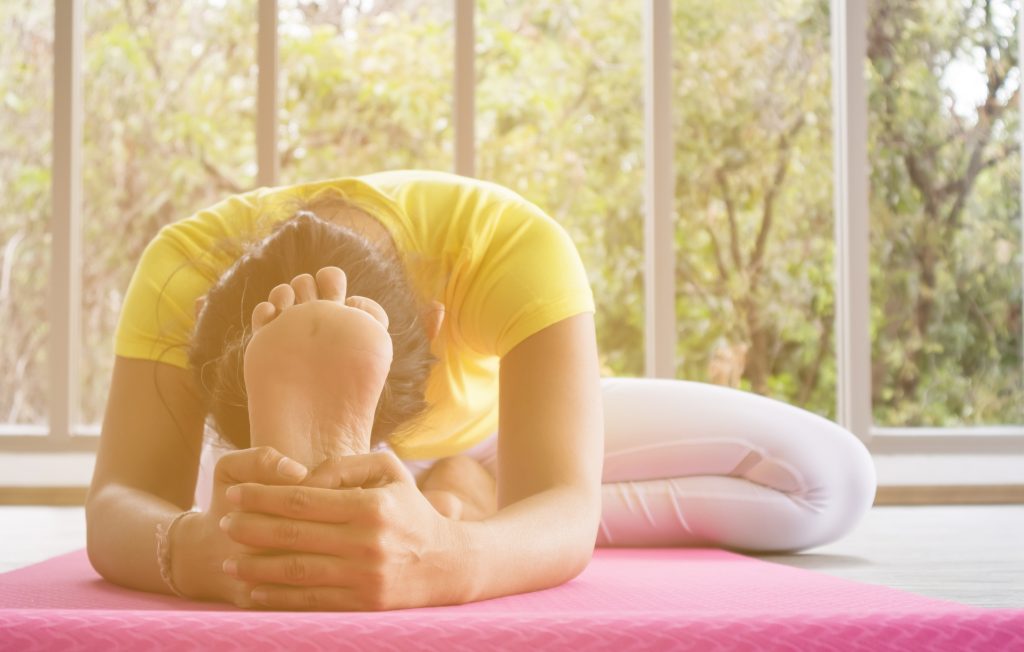
Photo © Kurapy11 – Dreamstime.com
If you are concerned with the shallow depth of field from shooting with a too wide of an aperture, bump the ISO settings up until you get the correct exposure with your chosen settings.
Supplement with spots
You can also create lighting effects or reduce shadow areas by adding in a little artificial light into the scene. Just be careful not to mix light sources – i.e. daylight balanced and florescent as an example – or the results will be strange colorcasts in portions of the image.
I hope these tips take some of the fear out of adding natural light into your indoor shots. It can be an easy and creative way to add a new dimension to your next photo session.
Images via Dreamstime.com.
Karen Foley is a freelance writer and photographer. See more of her work at karenfoleyphotography.com.